1 - Assemble your ingredients. Sandwich bread works in basically the same prep process as the French bread, but with a few more ingredients to give it a sweet, soft, texture. Additions or alternative ingredients will be suggested throughout, but for the basic starter sandwich bread, you'll need:
- 6 cups all-purpose flour (white or whole wheat)
- 1 cup water
- 1 cup milk
- 2 tablespoons of unsalted butter
- 2 tablespoons of sugar or honey
- 1 tablespoon of salt
- oil (optional)
- 1 egg, beaten (optional)
2 - Activate the yeast. Using 1 cup of warm water (100-110 deg. F), sprinkle the yeast into the bowl of a standing mixer or a large mixing bowl and cover it with water to let it activate.
3 - Scorch the milk in a saucepan. Heat the milk quickly on the stove over high heat, until just before it boils, then take it off the heat and add in the butter and the sugar, mixing it thoroughly. You don't want to actually burn the milk, and be careful that it doesn't boil over, since milk tends to start frothing very quickly. Keep an eye on it and take it off the heat as soon as it starts to steam. Let it cool down slightly before you add it to the yeast.
- Alternatively, it's perfectly fine to heat the milk in the microwave and add the butter and sugar when it's hot.
4 - Add the wet mix and 1 cup of the flour to the mixer. Stir the mixer for about 2 minutes at medium speed. As the dough starts to form, gradually continue adding in the rest of the flour, one cup at a time. When all the flour has been added, beat on a higher setting for 2 more minutes.
- How much flour you use will depend on how humid it is, so keep an eye on the dough and use your judgment. Wheat flour is likewise very different to work with--you'll likely need to use less of it to form the dough. When you're first starting out, it might be a good idea to use half wheat and half white flour to get used to the difference.
5 - Turn out the dough and start kneading. Press all the leftover crumbs of flour into the dough ball, then turn the lump out onto your floury kneading surface. Keep kneading until the dough has a soft, smooth surface texture that springs back when you push into it.
- Alternatively, it's perfectly fine to knead in your electric mixer, provided you've got a bread hook. It can be much easier on the hands. Knead the dough in the mixer for about 10 minutes to form the gluten strands that'll give the bread a wonderfully chewy texture.
6 - Cover the ball of dough with oil, and put it in an oily bowl. This stops the surface from drying out and cracking while it rises--the dried dough will become nasty lumps in your finished bread. Cover the bowl with a clean dish towel or plastic wrap and put the bowl in a warm (but not hot) location.
- Leave the dough alone for about 90 minutes while it rises. It should about double in size, or at least plump up significantly if you're using a lot of wheat flour.
7 - Punch it down. Put your fists on the ball of dough and squish it until it's about the size you started with. You don't need to knead it again, as the dough should be soft and springy. Divide the dough into two equal portions with a chef's knife or a pastry knife to form your loaves.
8 - Roll two loaves and to greased loaf pans. On your kneading surface, roll out the dough with your hands by flattening it first into a kind of tall rectangle, then folding the bottom and top in toward the middle and pinching the seam closed. This will make the bottom of the loaf.
- Add the loaves into the greased pans and cover the pans again with the towel to let the dough rise again for 30-45 minutes while you clean up the kneading surface and preheat the oven.
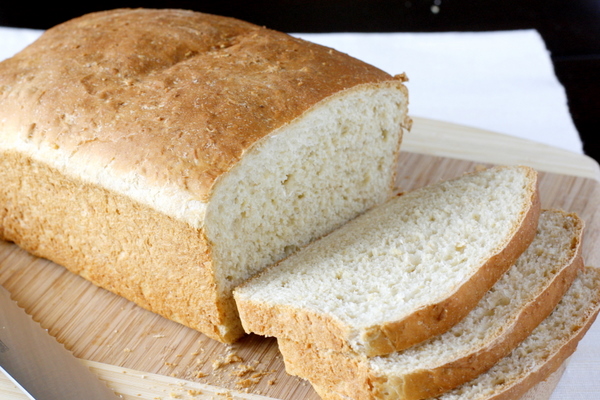
9 - Bake the bread at 400 °F (200 °C) for 35 minutes or until golden brown. Before adding the bread into the oven, slit the dough 3 or 4 times about a half inch deep to score the surface, then top with beaten egg or oil if you want to create a shiny crisp top crust.
- The bread is finished when the bottom of the loaf is firm, and you're able to make a hollow tapping with your finger. If you're not sure, turn it out of the pan and check by tapping on it with your finger a few times. It'll be hot, so be careful.
No comments:
Post a Comment